Precision Engineering Specialist Presses Ahead!
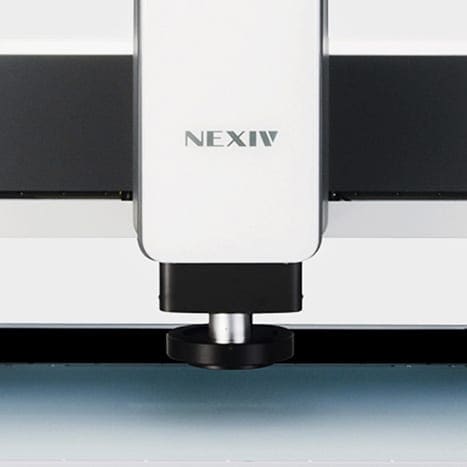
Thanks to the acquisition of a Nikon Nexiv CNC Video Measuring System, Europe’s leading precision engineering company is now able to check small, tightly toleranced parts, yet still maintain production levels of up to 800 parts per minute. For Clamason Industries, this means it can closely monitor the quality of its output of complex pressed components, destined for medical devices used in drug delivery, without compromising its precision engineering production schedule.
Although batches vary, they are typically up to a million from which the West Midlands company would normally measure 1000 parts. Lots of 60 are placed on a jig and the Nexiv VMR-3020 performs all the necessary measurements within minutes. The pressed metal parts are recognised automatically by the intelligent pattern search, skewed and measured following a programmed measuring sequence. The data generated is stored in the Nikon Nexiv data management system for quality auditing.
According to Tim Jones, Business Development Manager, “Since patient safety is paramount, we have built-in safeguards including an in-line vision system to ensure that we cannot make a part that is out of specification. However, we need to be able to monitor key dimensions so that we can anticipate where and when adjustments in the process will need to be made. This would be impossible without the Nexiv VMR-3020.”

Continued monitoring of parameters deemed critical by Clamason’s precision engineering customers is vital because of the nature of the material. “Since the stainless steel we use is inherently “springy”, it’s usual for us to form the shape beyond that which is required, and allow the metal to “spring back”. Although our supply is tightly controlled, it can be supplied within a defined hardness range and slight variations within or between batches can also affect the final dimensions of the parts.”
“Likewise, although hardened, our tooling will wear over time but the Nexiv VMR-3020 allows us to spot any trends, thus alerting our engineers to adjust the tools before the parts are out of specification.”
In searching for an approach that would combine the necessary speed of examination with the desired level of accuracy, precision and, most importantly, repeatability when measuring thousands of highly toleranced parts, Clamason’s task was further complicated by the very size of the components.
“We looked for alternatives and concluded, that, due to the small size and nature of the parts we make, it was virtually impossible for any method other than a non-contact video system to measure the parts accurately in large numbers with any degree of repeatability. Now, thanks to the speed, accuracy and precision of the Nikon Nexiv VMR-3020 pattern search, edge detection and through-the-lens laser auto focus system for critical height measurement, we can make the necessary checks while the machines are running at full capacity and analyse the data in time to effect any adjustments. Previously, we had to hold production while we made the necessary measurements, slowing down the production process.”
A key customer of Clamason Industries also has a Nikon Nexiv VMR-3020, which ensures that nthe two companies can accurately compare their findings, and jointly develop precise repeatable measuring programmes.
